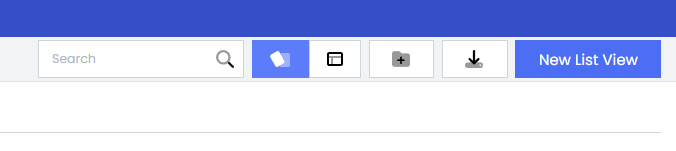
The Search Bar at the top-right of the screen allows you to quickly locate any list view within the platform. Simply enter keywords related to the name of the list view or any part of the content you’re searching for.
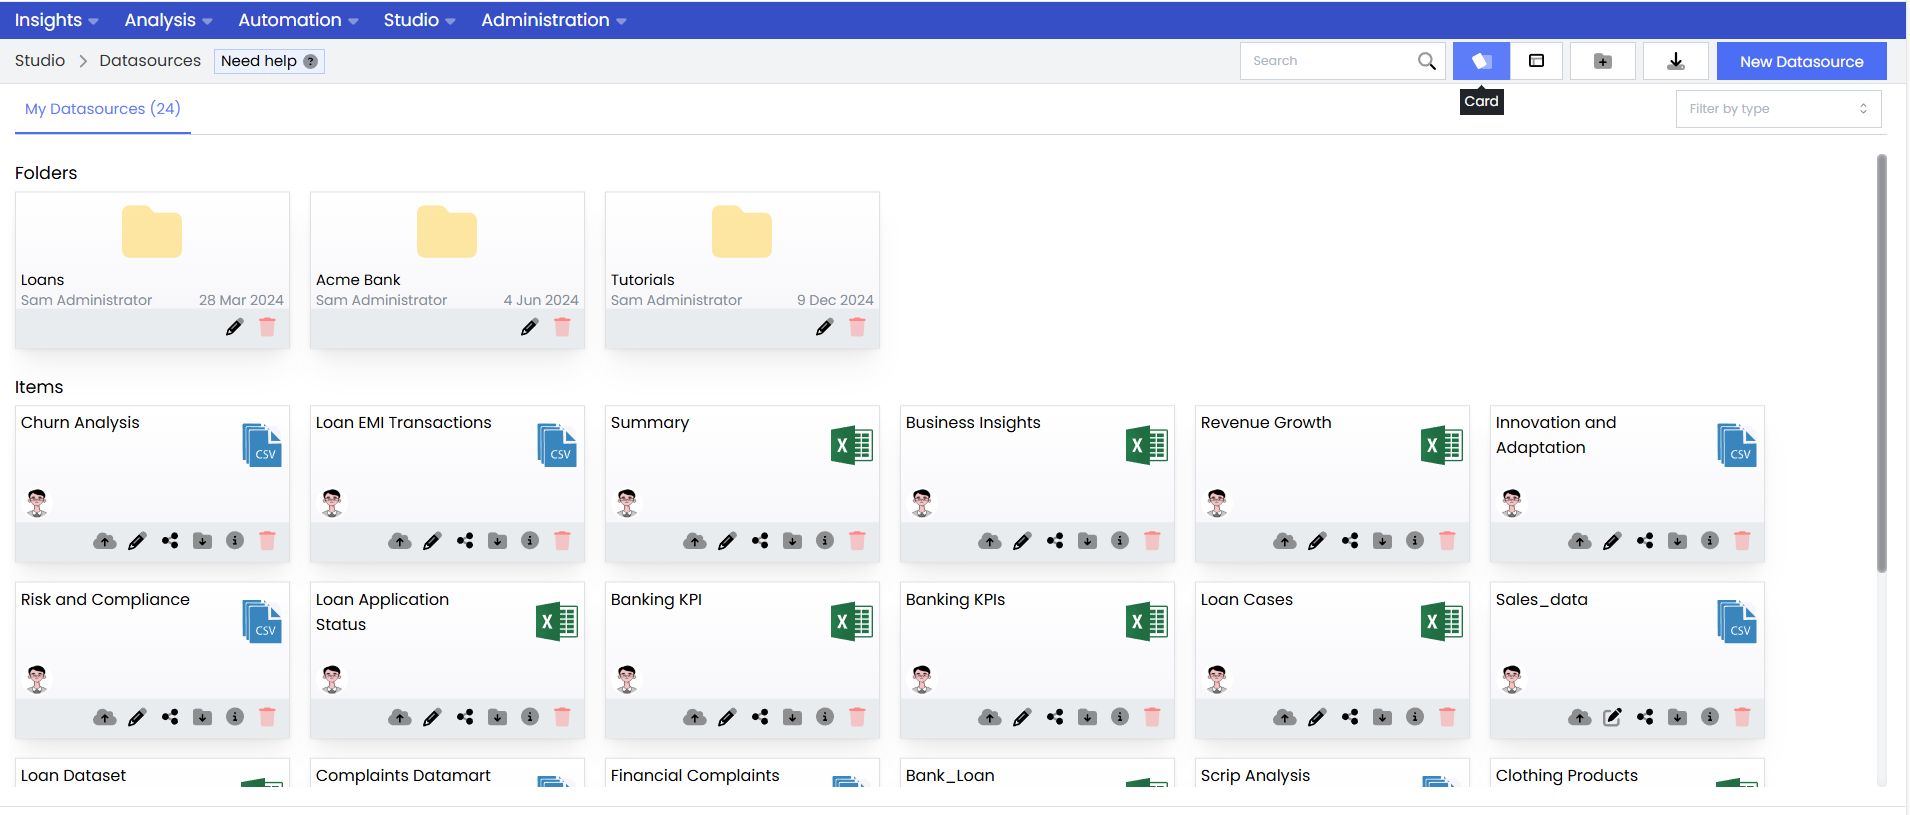
Card View
When you click on the Card option in the layout filter, the items are displayed in a card-based view, which is the default layout for organizing list views. This layout provides a more visual representation of the list views and folders, making it easier to identify and organize items.
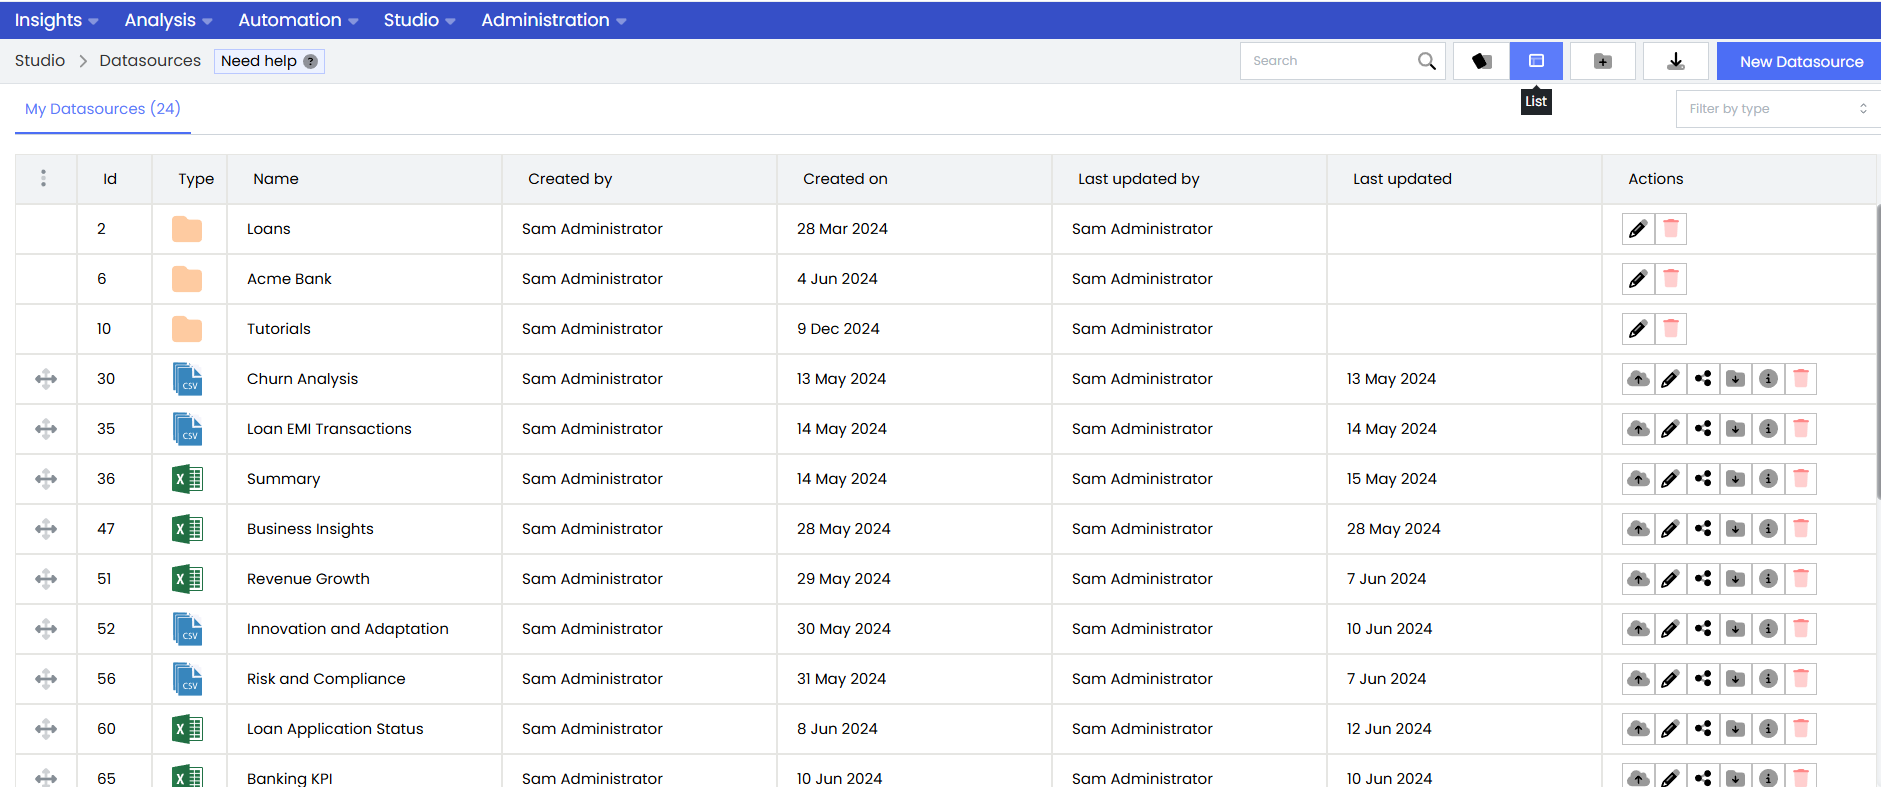
List View
When you click on the List option, the layout changes to a table view, which displays the items and folders in a more detailed, structured format. This layout is ideal for users who prefer seeing data in rows and columns, allowing for quick access to information such as the item name, type, creation date, last update date, and more.
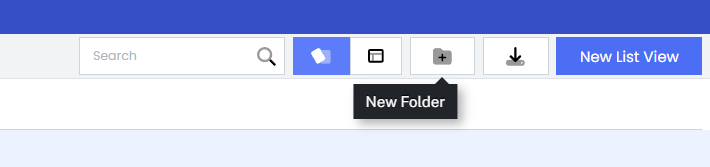
Creating New Folder
To organize your items and list views more efficiently, you can create a new folder. Here’s how to do it
Click the New Folder button, this will open a popup where you can configure your new folder.
In the popup that appears, you’ll be prompted to enter a name for your new folder. Choose a name that helps you identify the folder’s purpose or contents, such as “Reports” or “Financial Data.”
After entering the folder name, click the Save button to create the folder. The new folder will appear under Folders section.
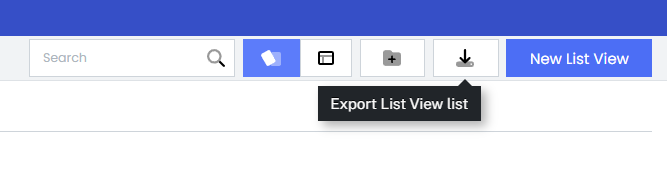
Exporting List View
The Export List View feature allows users to download a structured file containing all available list views within the system. This functionality enhances data management by enabling efficient organization, analysis, and sharing of list view records.
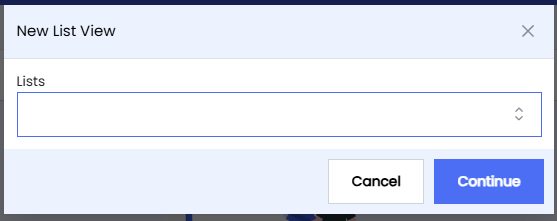
Creating New List View
When you click on New List View, a popup window appears, prompting users to select a list from the dropdown.
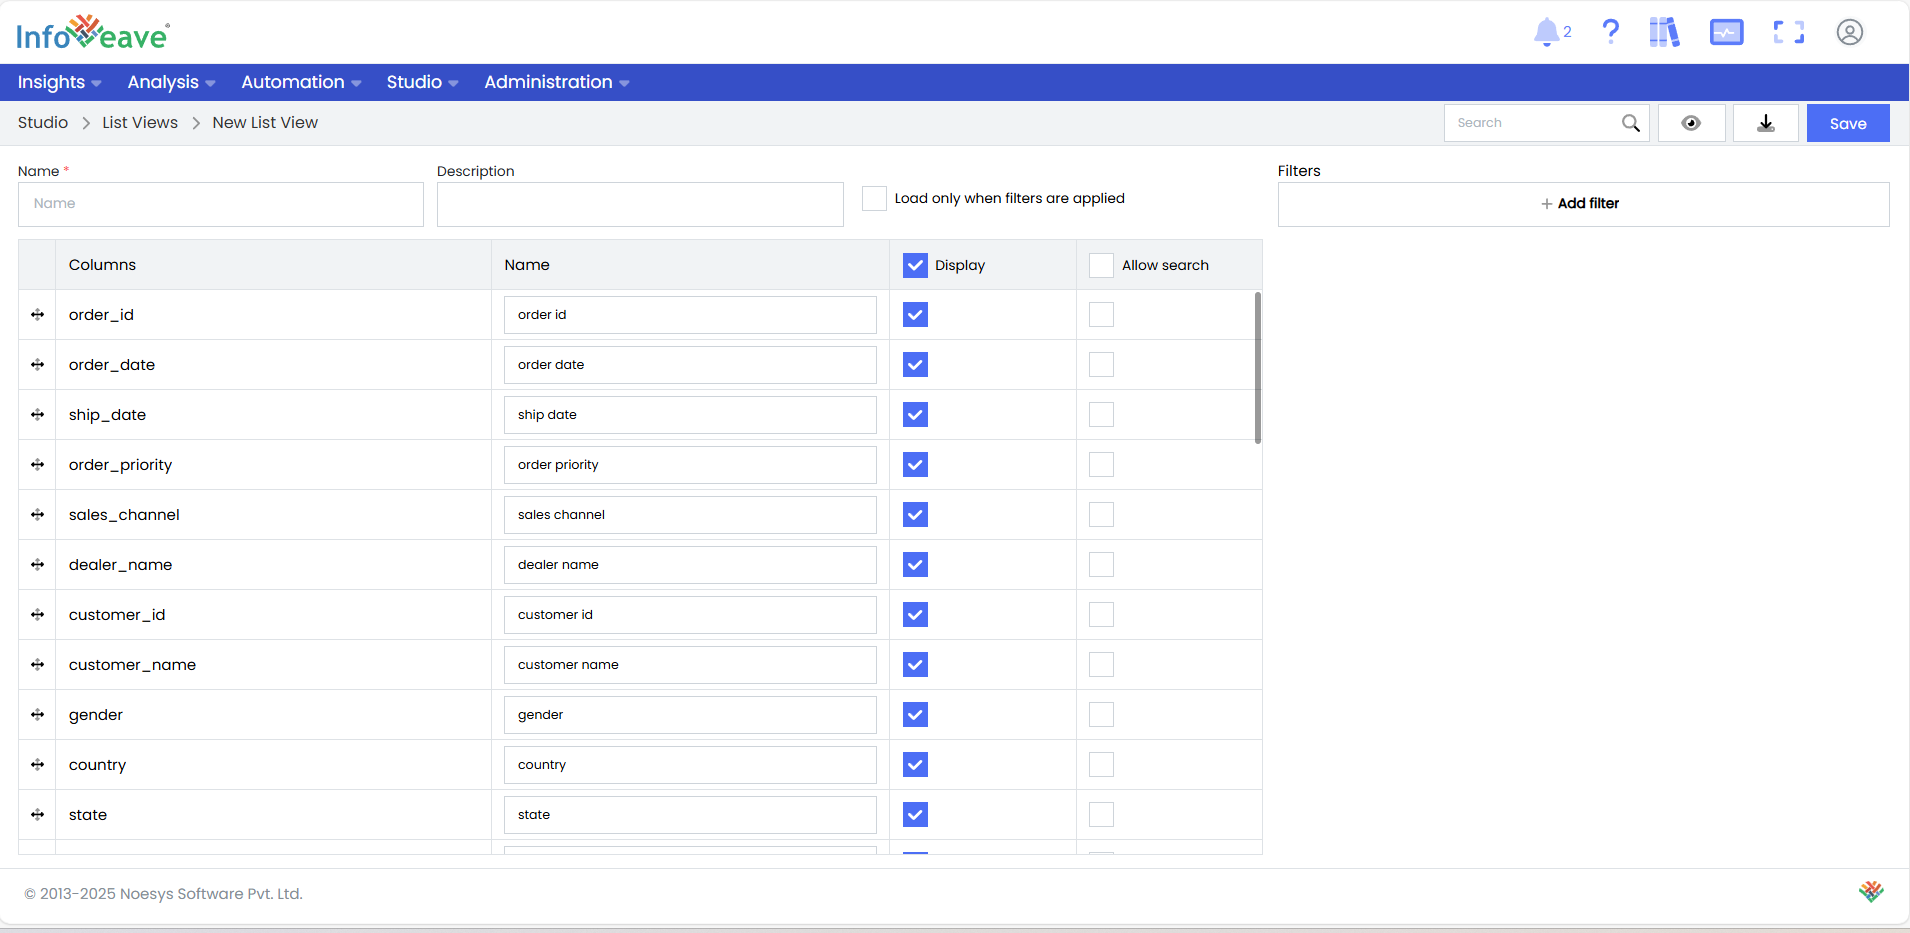
After selecting the desired list and clicking Continue, users are redirected to the list view configuration page. Here, they can define the Name and Description of the list view, choose which columns to display, enable search functionality, and apply filters if needed.
Once all configurations are set, clicking Save finalizes the creation of the new list view, making it available for use within the system.