---
title: Holiday Calendar
description: Manage and customize holidays in Infoveave with the Holiday Calendar feature, including uploading holiday lists and scheduling activities.
---
import { Aside, Steps } from '@astrojs/starlight/components';
# Holiday Calendar
The Holiday Calendar lets you specify holidays in Infoveave and use them while scheduling a workflow or executing a Data Quality check. The Holiday Calendar allows you to select and add individual holidays or upload all holidays in a prescribed format as a CSV file or an Excel file.
## Creating a Holiday Calendar
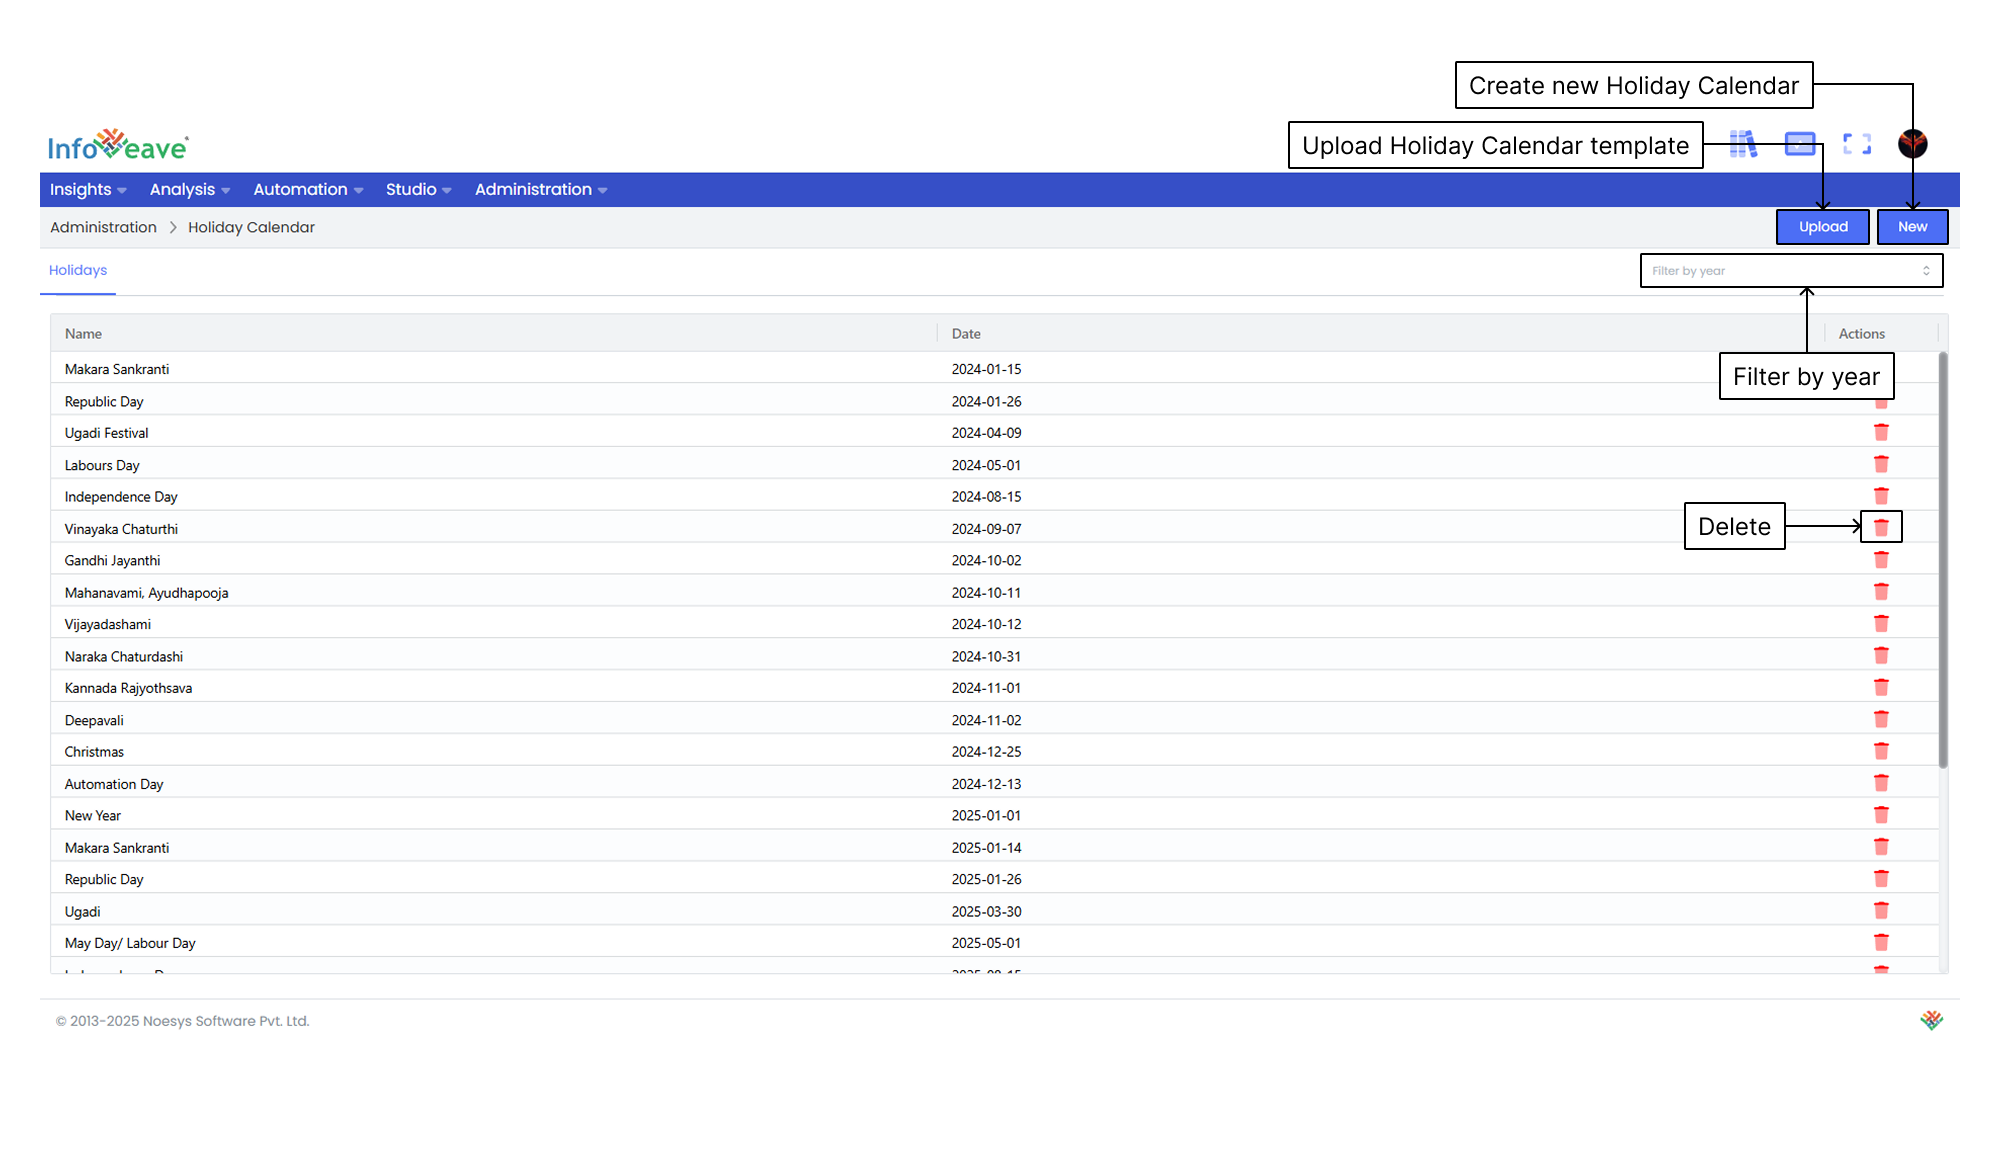
1. To add a Holiday Calendar in Infoveave, click on **Administration** **Holiday Calendar**. All the Holiday Calendars created by you are displayed under the **Holidays** tab.
2. To add a new holiday, click on **New**. A dialog box appears.
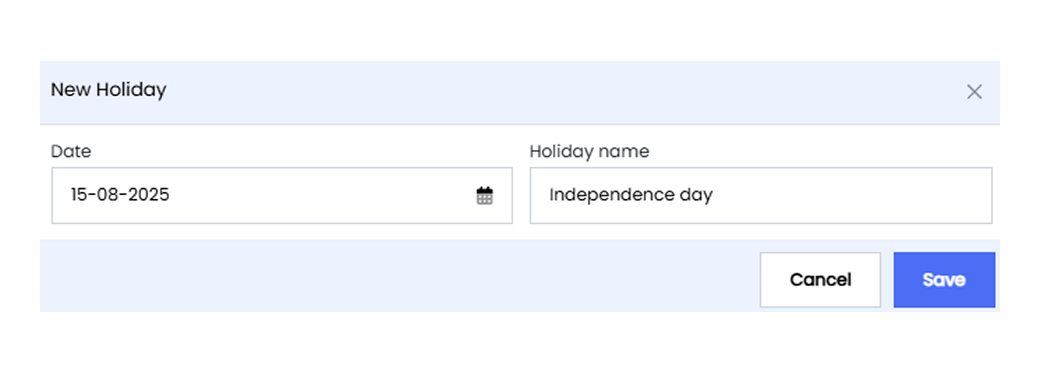
3. Pick a **Date range** for your holidays.
4. Specify the days in the selected date range to be considered as holidays. This works well for setting weekends as holidays.
* You may also pick a single day as a holiday.
* When choosing a single day, use the **Time range** option to specify the start time and the end time of the holiday.
5. **Name** the holiday for easy identification.
6. Click **Save** to add the holiday to Infoveave.
7. To upload a list of holidays for the year, click **Upload**. Select your Holiday Calendar template file from the storage location.
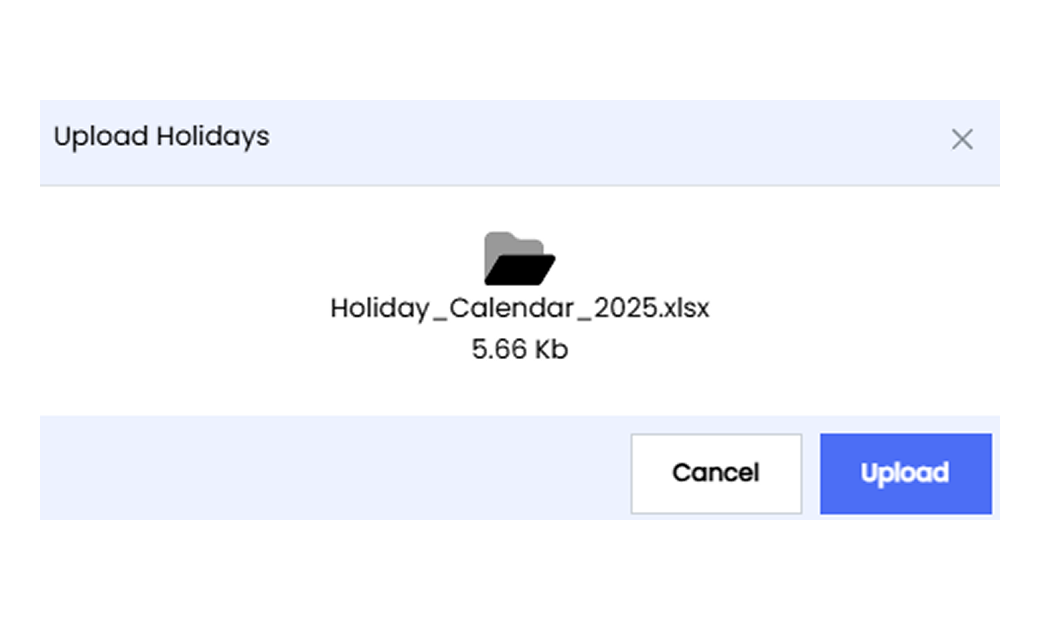
8. Click on **Upload** to add the list of all holidays.
9. The uploaded holidays are now listed under your Holiday Calendar.
## Using the Holiday Calendar
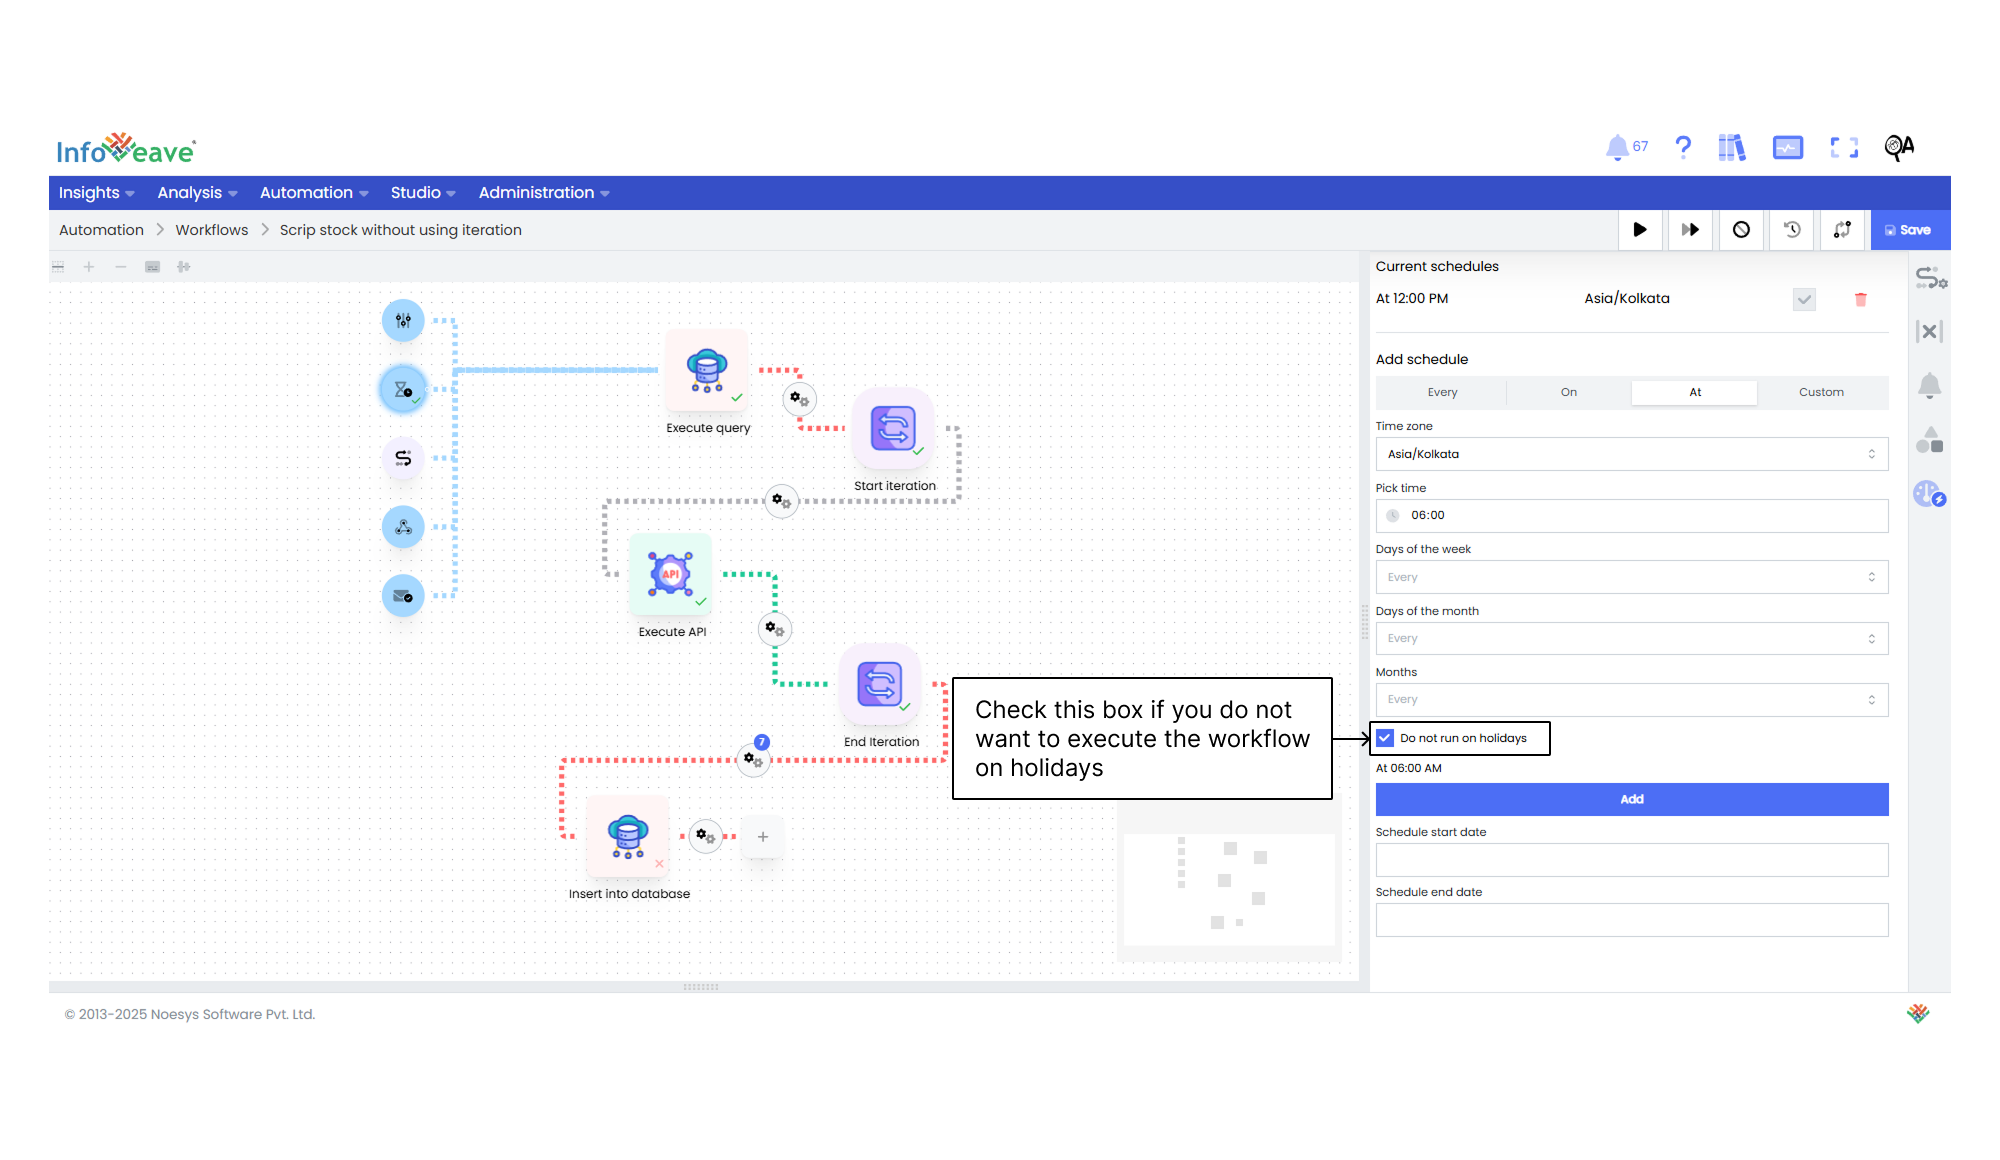
Whenever you use the [Cron trigger](/automation-v8/workflows/define-workflow/workflow-start/#cron-trigger) to schedule a workflow, you can check the box **Do not run on holidays** to skip the workflow execution on the holidays mentioned in the holiday calendar.